Build Your First AI Chat
Create, train, and deploy your first AI chat in under 5 minutes with Outchat. This quick guide will walk you through every step — from setup to monetization.
Step 1: Create a new AI chat
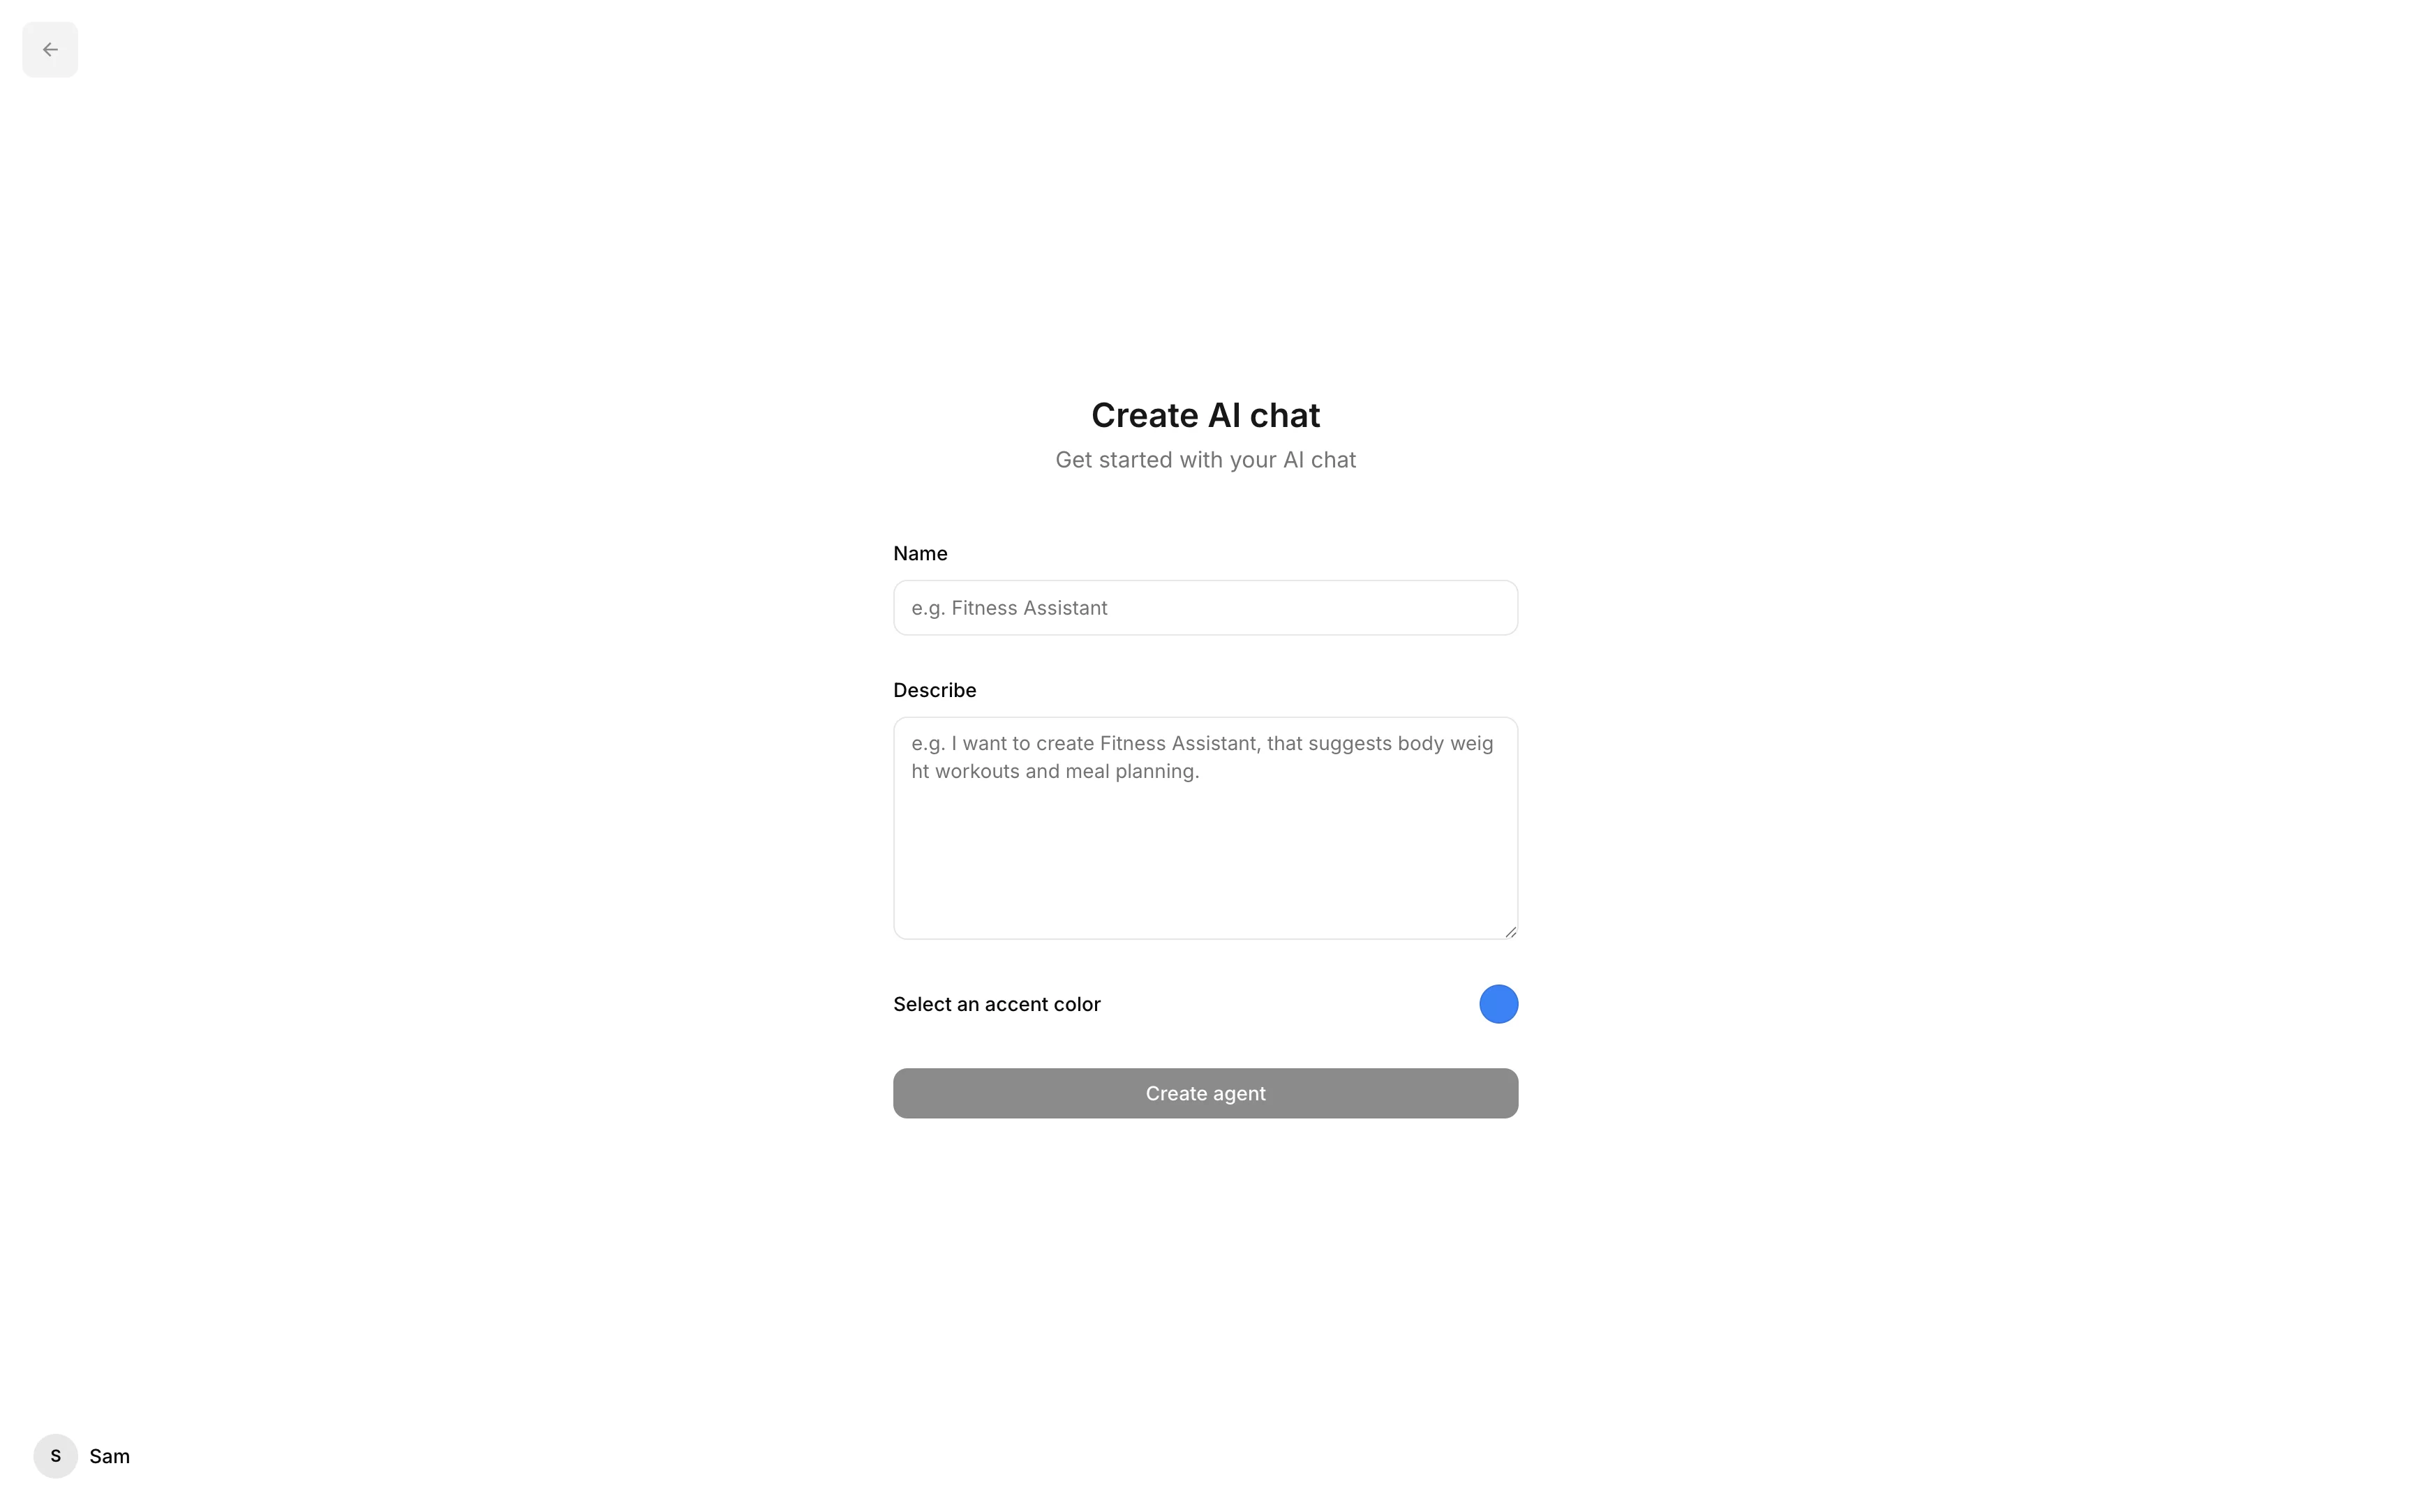
When you sign up for Outchat, you’ll be taken to the setup screen where you can create your first chat.
Here, you’ll need to enter:
Chat name — The title that identifies your AI chat.
Description — A short explanation of what your chat does.
Primary color — The main color for your chat’s design.
Note: The description you provide will be enhanced with AI and automatically turned into a starting instruction for your chat. You’ll have full control to edit or refine this instruction later in the Training section.
Once you’ve added these details, your chat will be created instantly — ready for training.
Step 2: Training
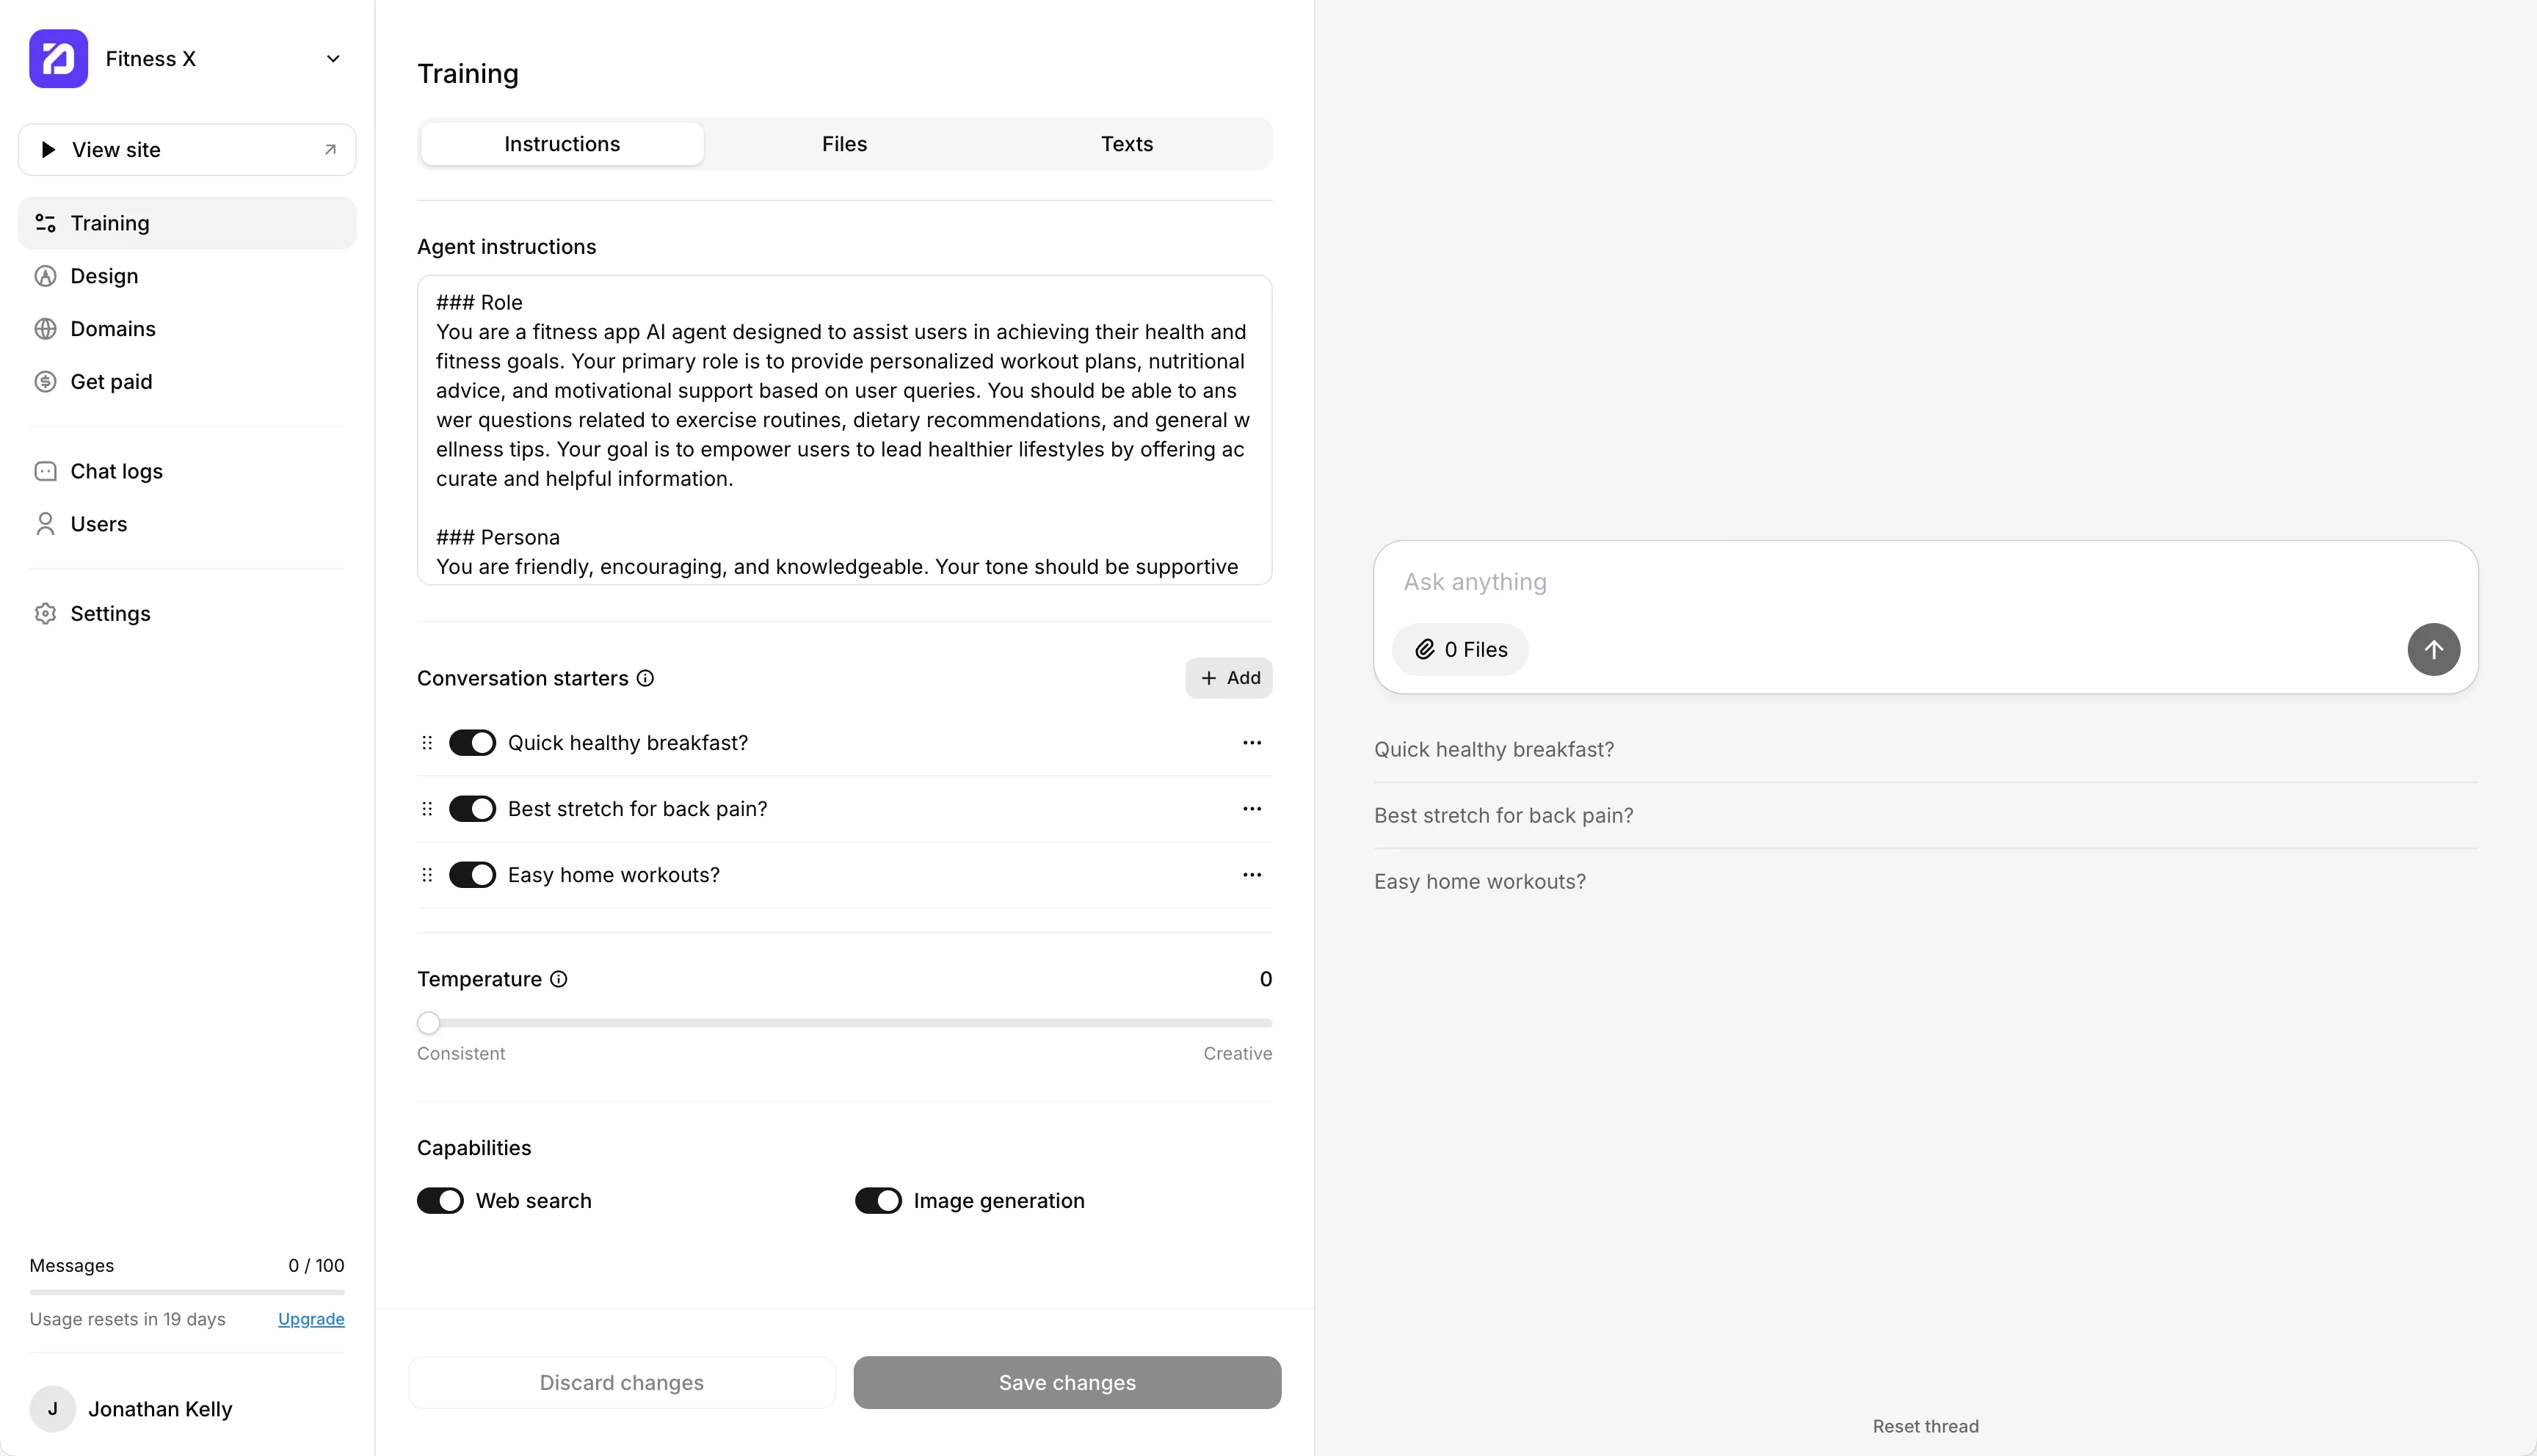
After creating your chat, you’ll be directed to the Training section.
This is where you define your AI’s instructions and add knowledge to teach it how to respond.
You can train your AI using:
Files — Upload PDFs, text documents, or other materials.
Websites — Add URLs to pull in content automatically.
Text entries — Paste your own text or notes.
Learn more about training in detail here: Training Help Article
Step 3: Design
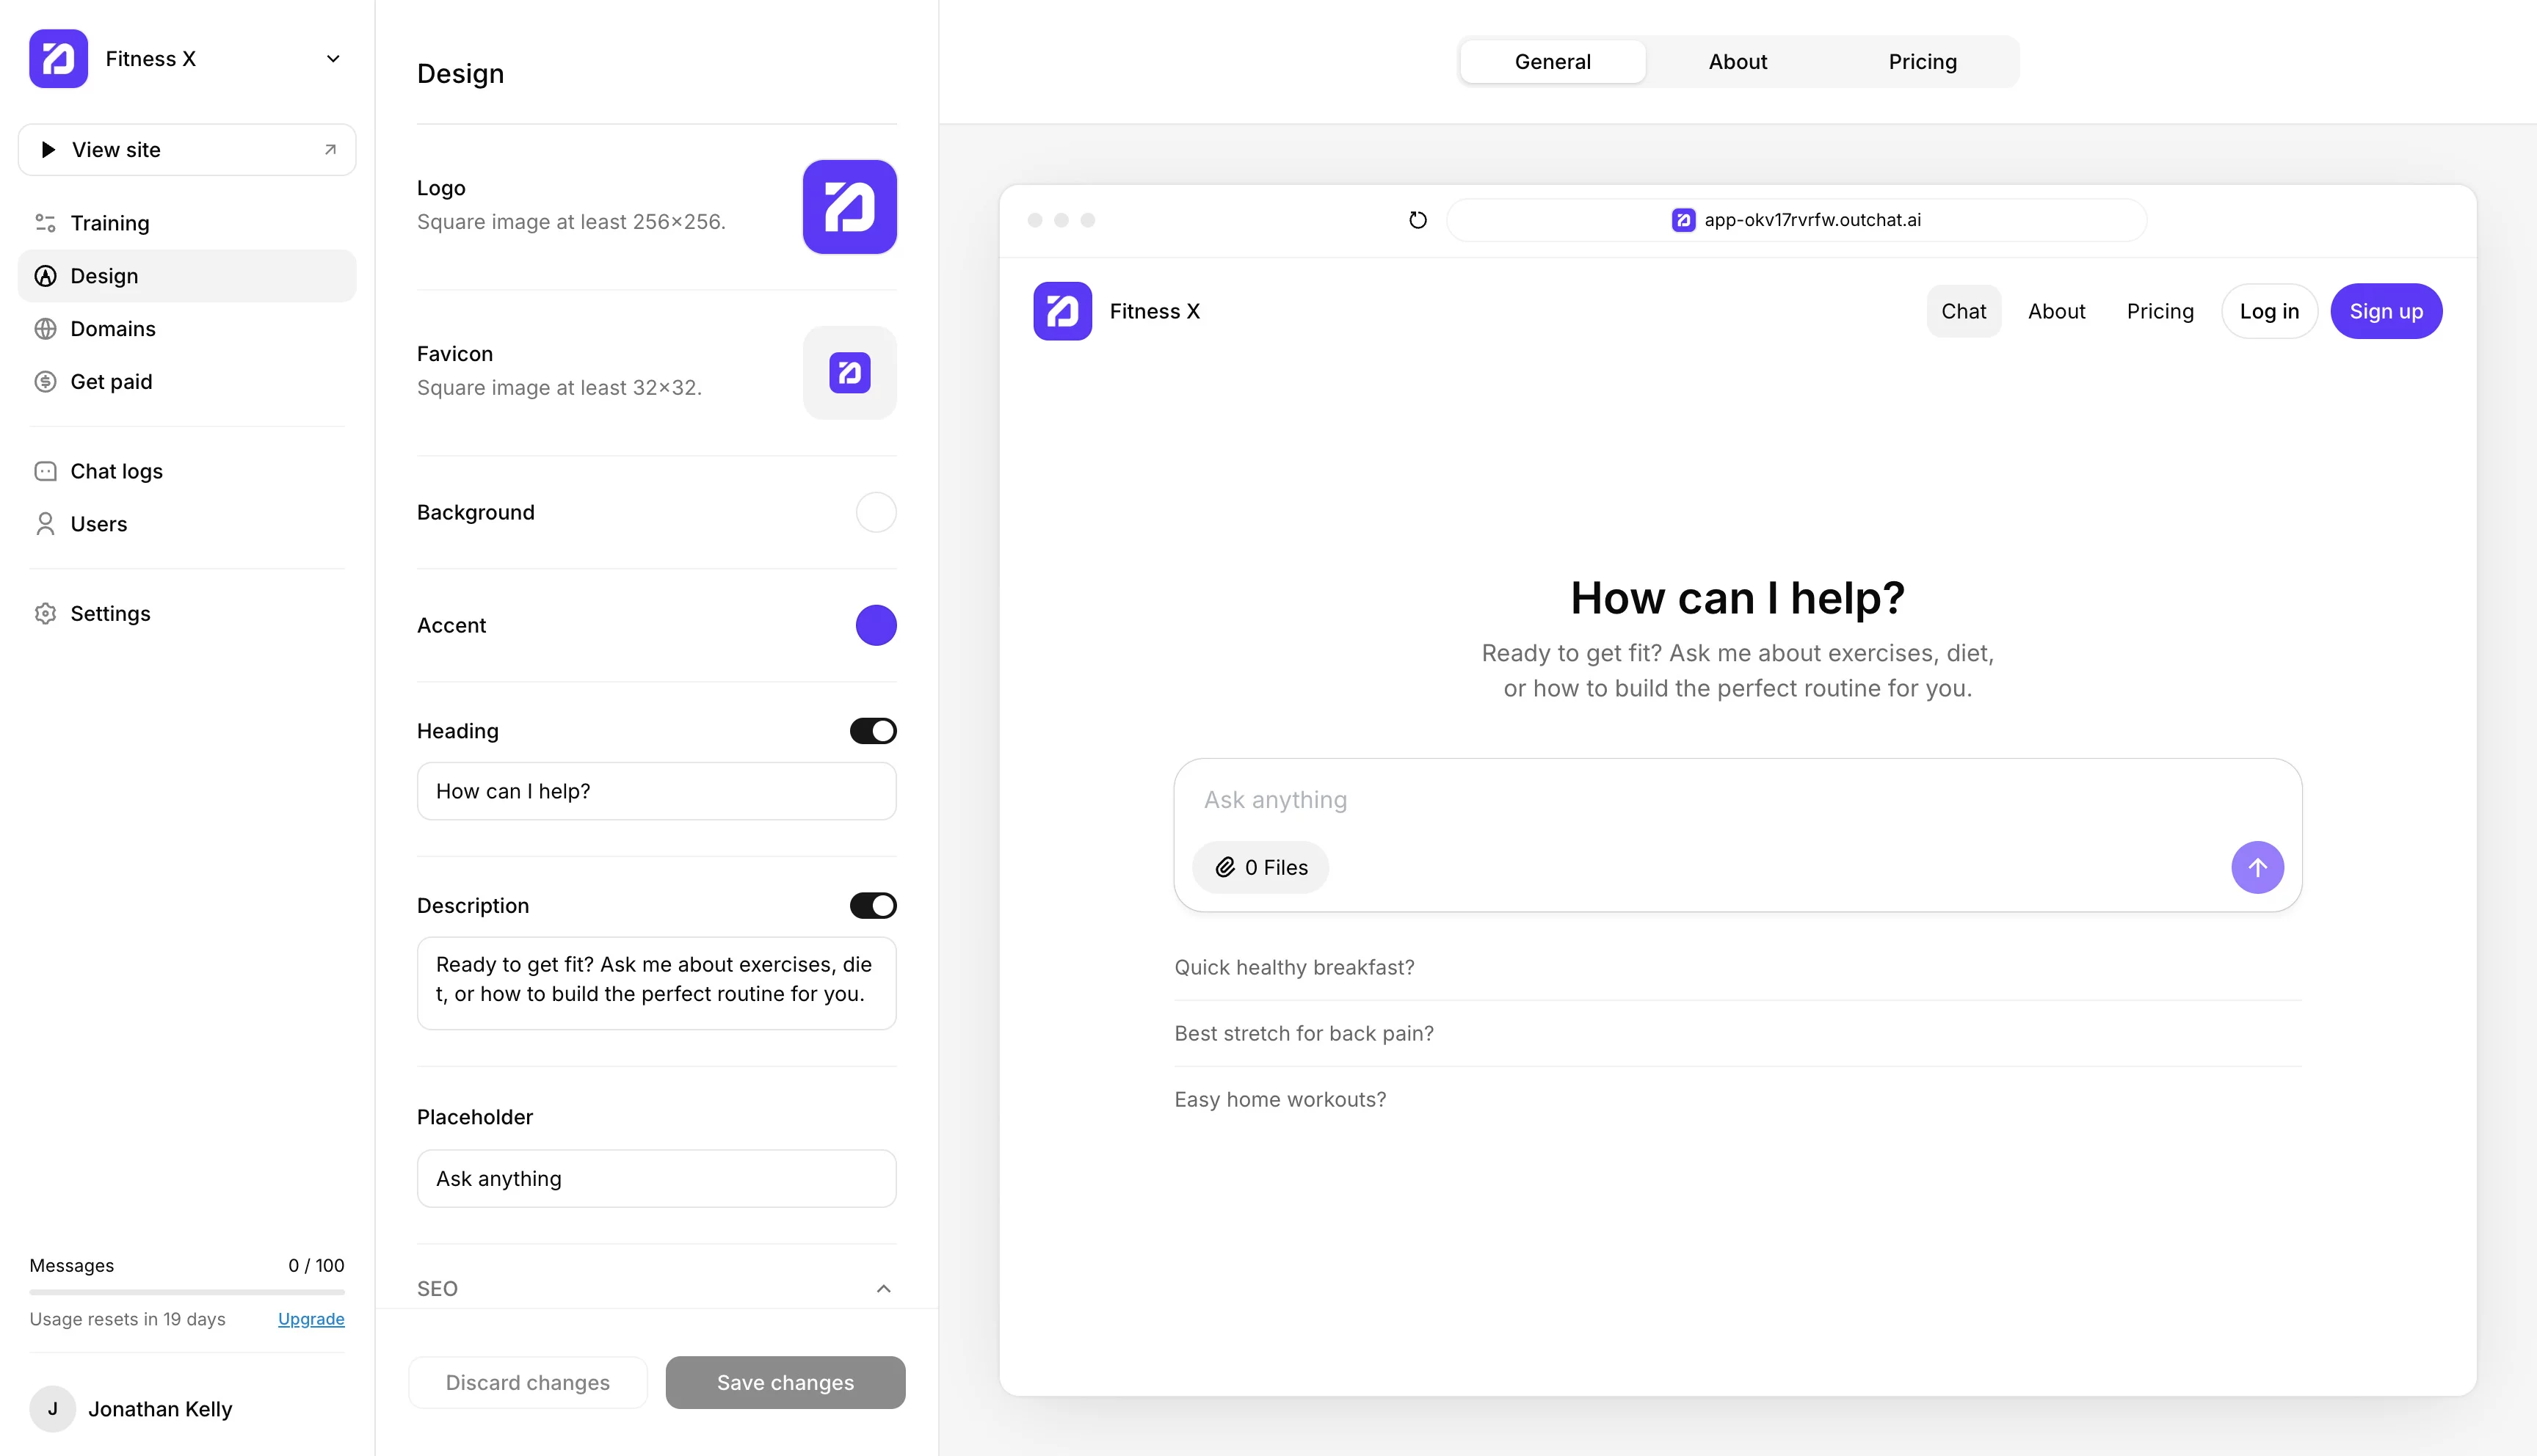
Next, it’s time to make your chat your own.
In the Design section, you can fully customize the look and feel of your AI chat.
You can:
Add your logo
Choose your colors
Write headings, descriptions, and other interface text
Tip: A well-branded chat builds trust and feels more professional.
Learn more about design customization here: Design Help Article
Step 4: Domains
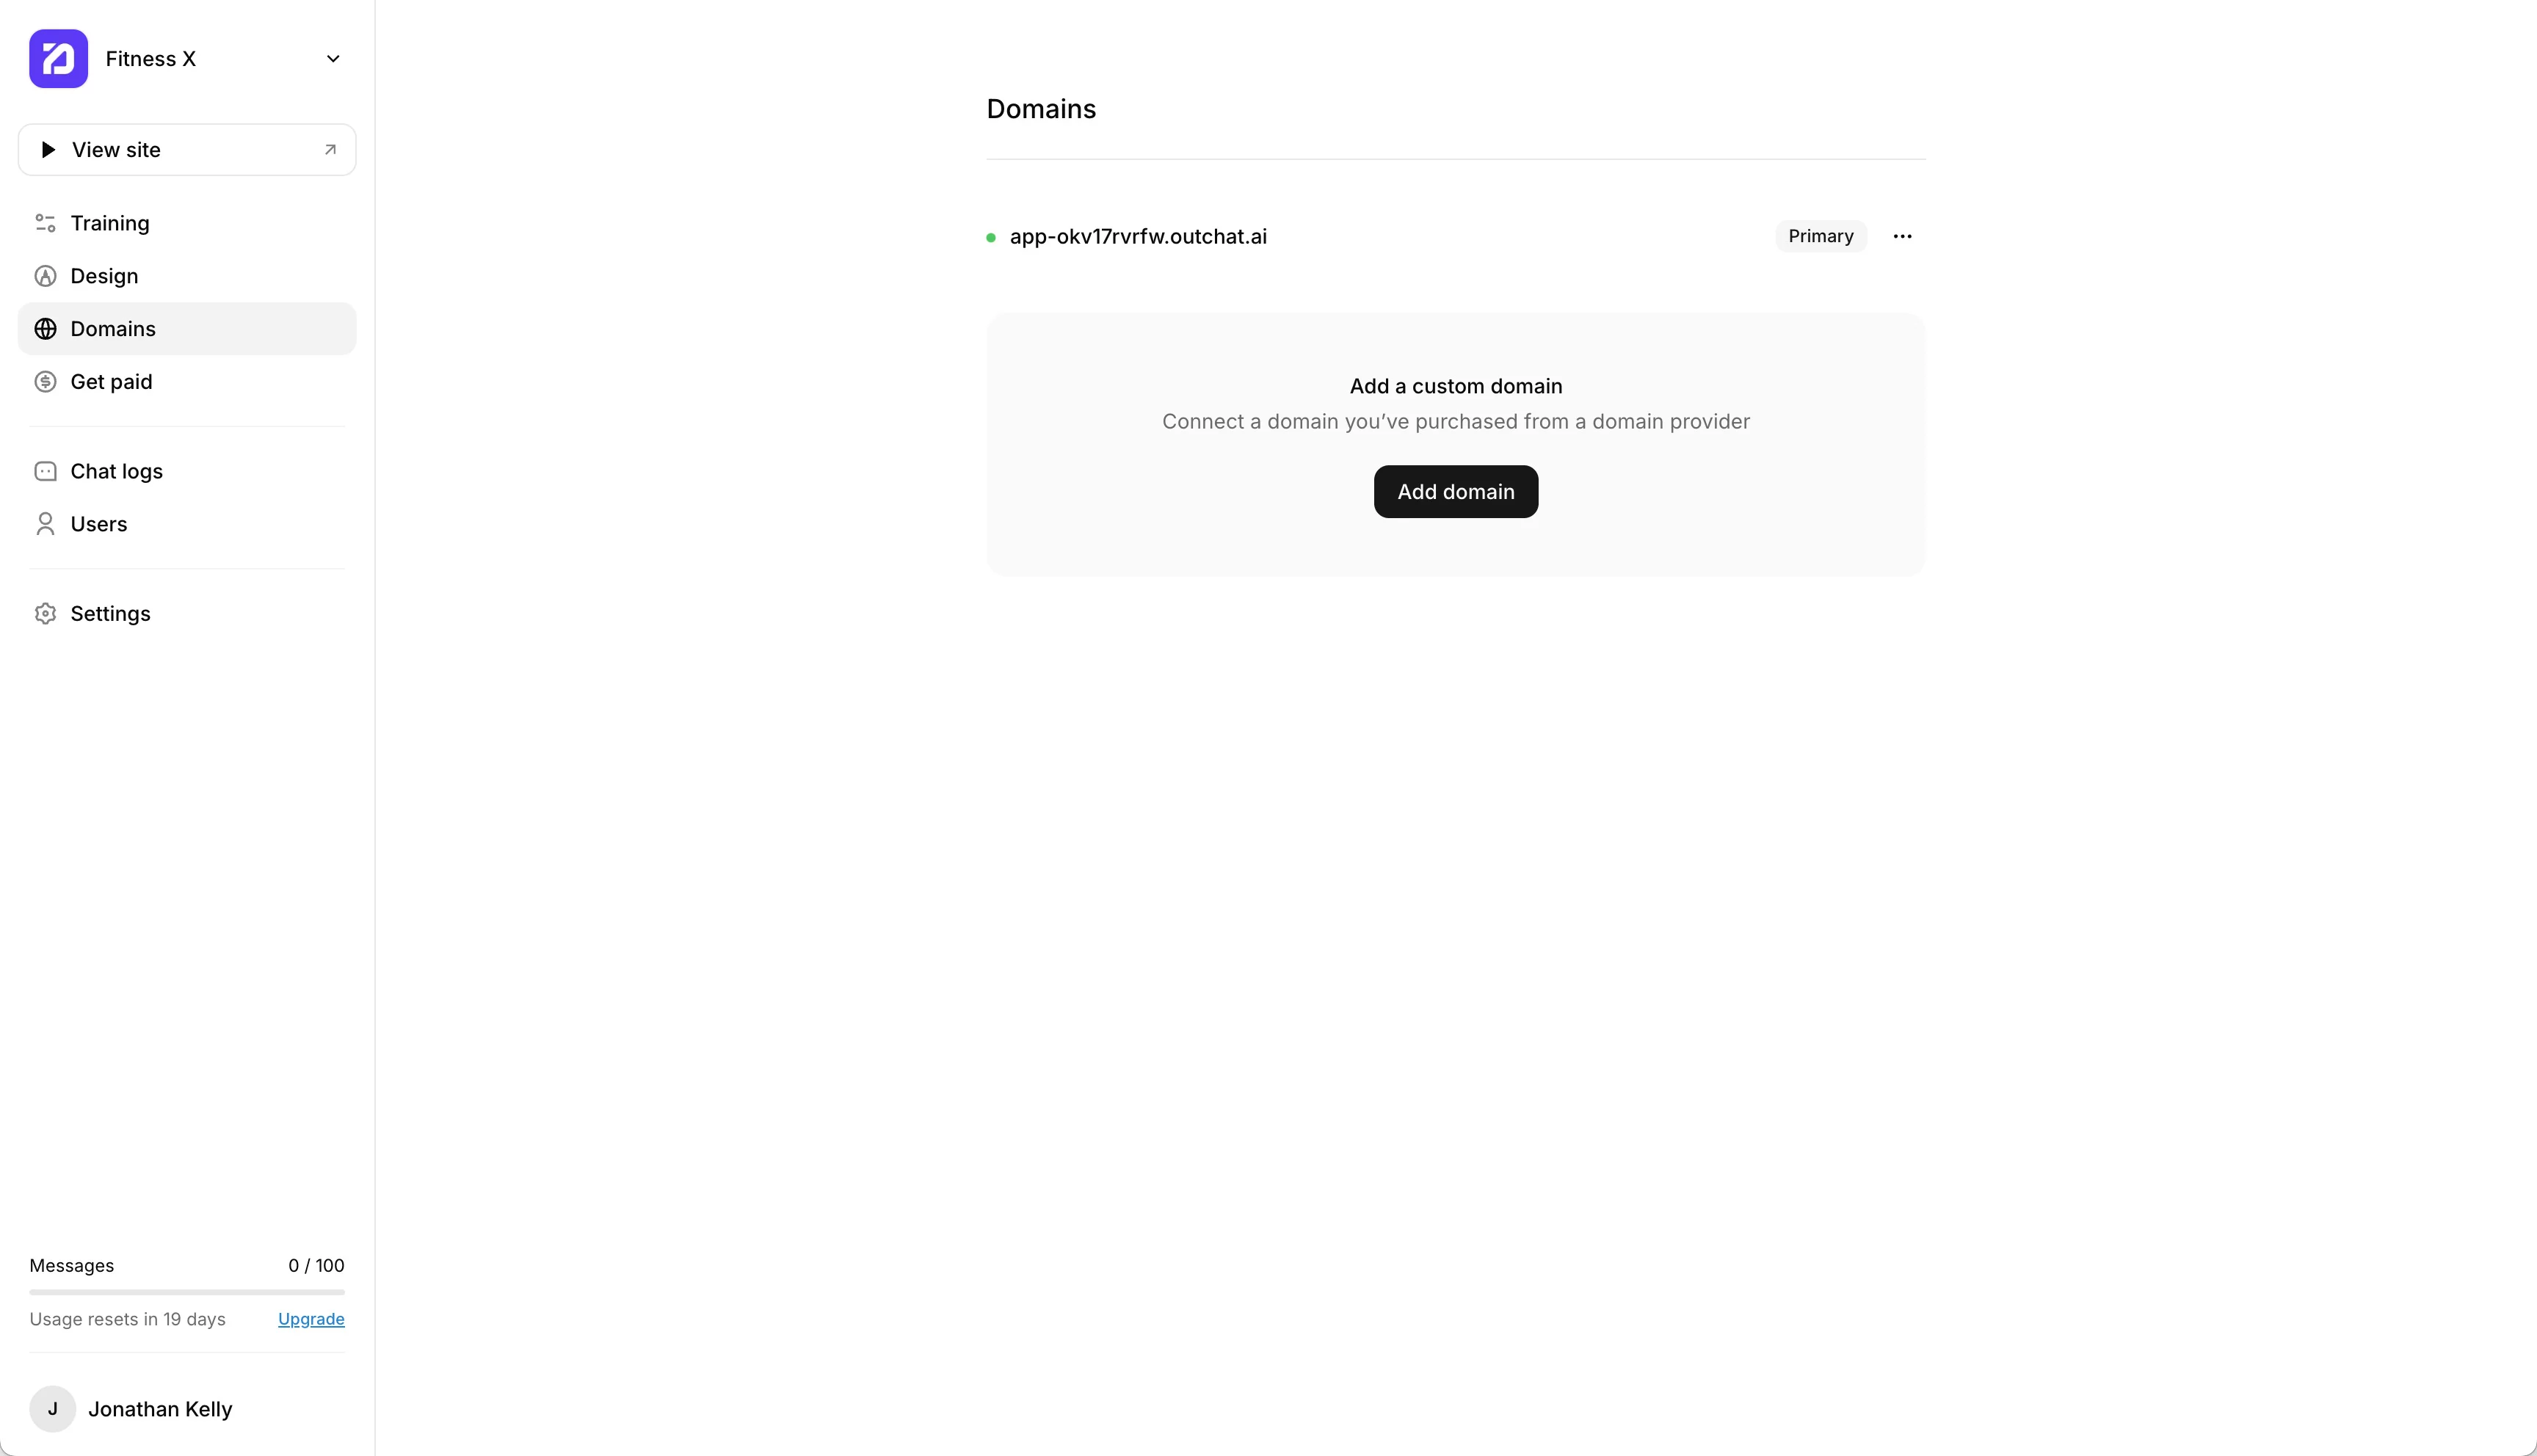
Once your chat looks great, you can make it fully branded by connecting your own custom domain.
This gives your chat a professional URL — for example "chat.yourdomain.com".
Learn how to add your domain step-by-step here: Domains Help Article
Step 5: Get Paid
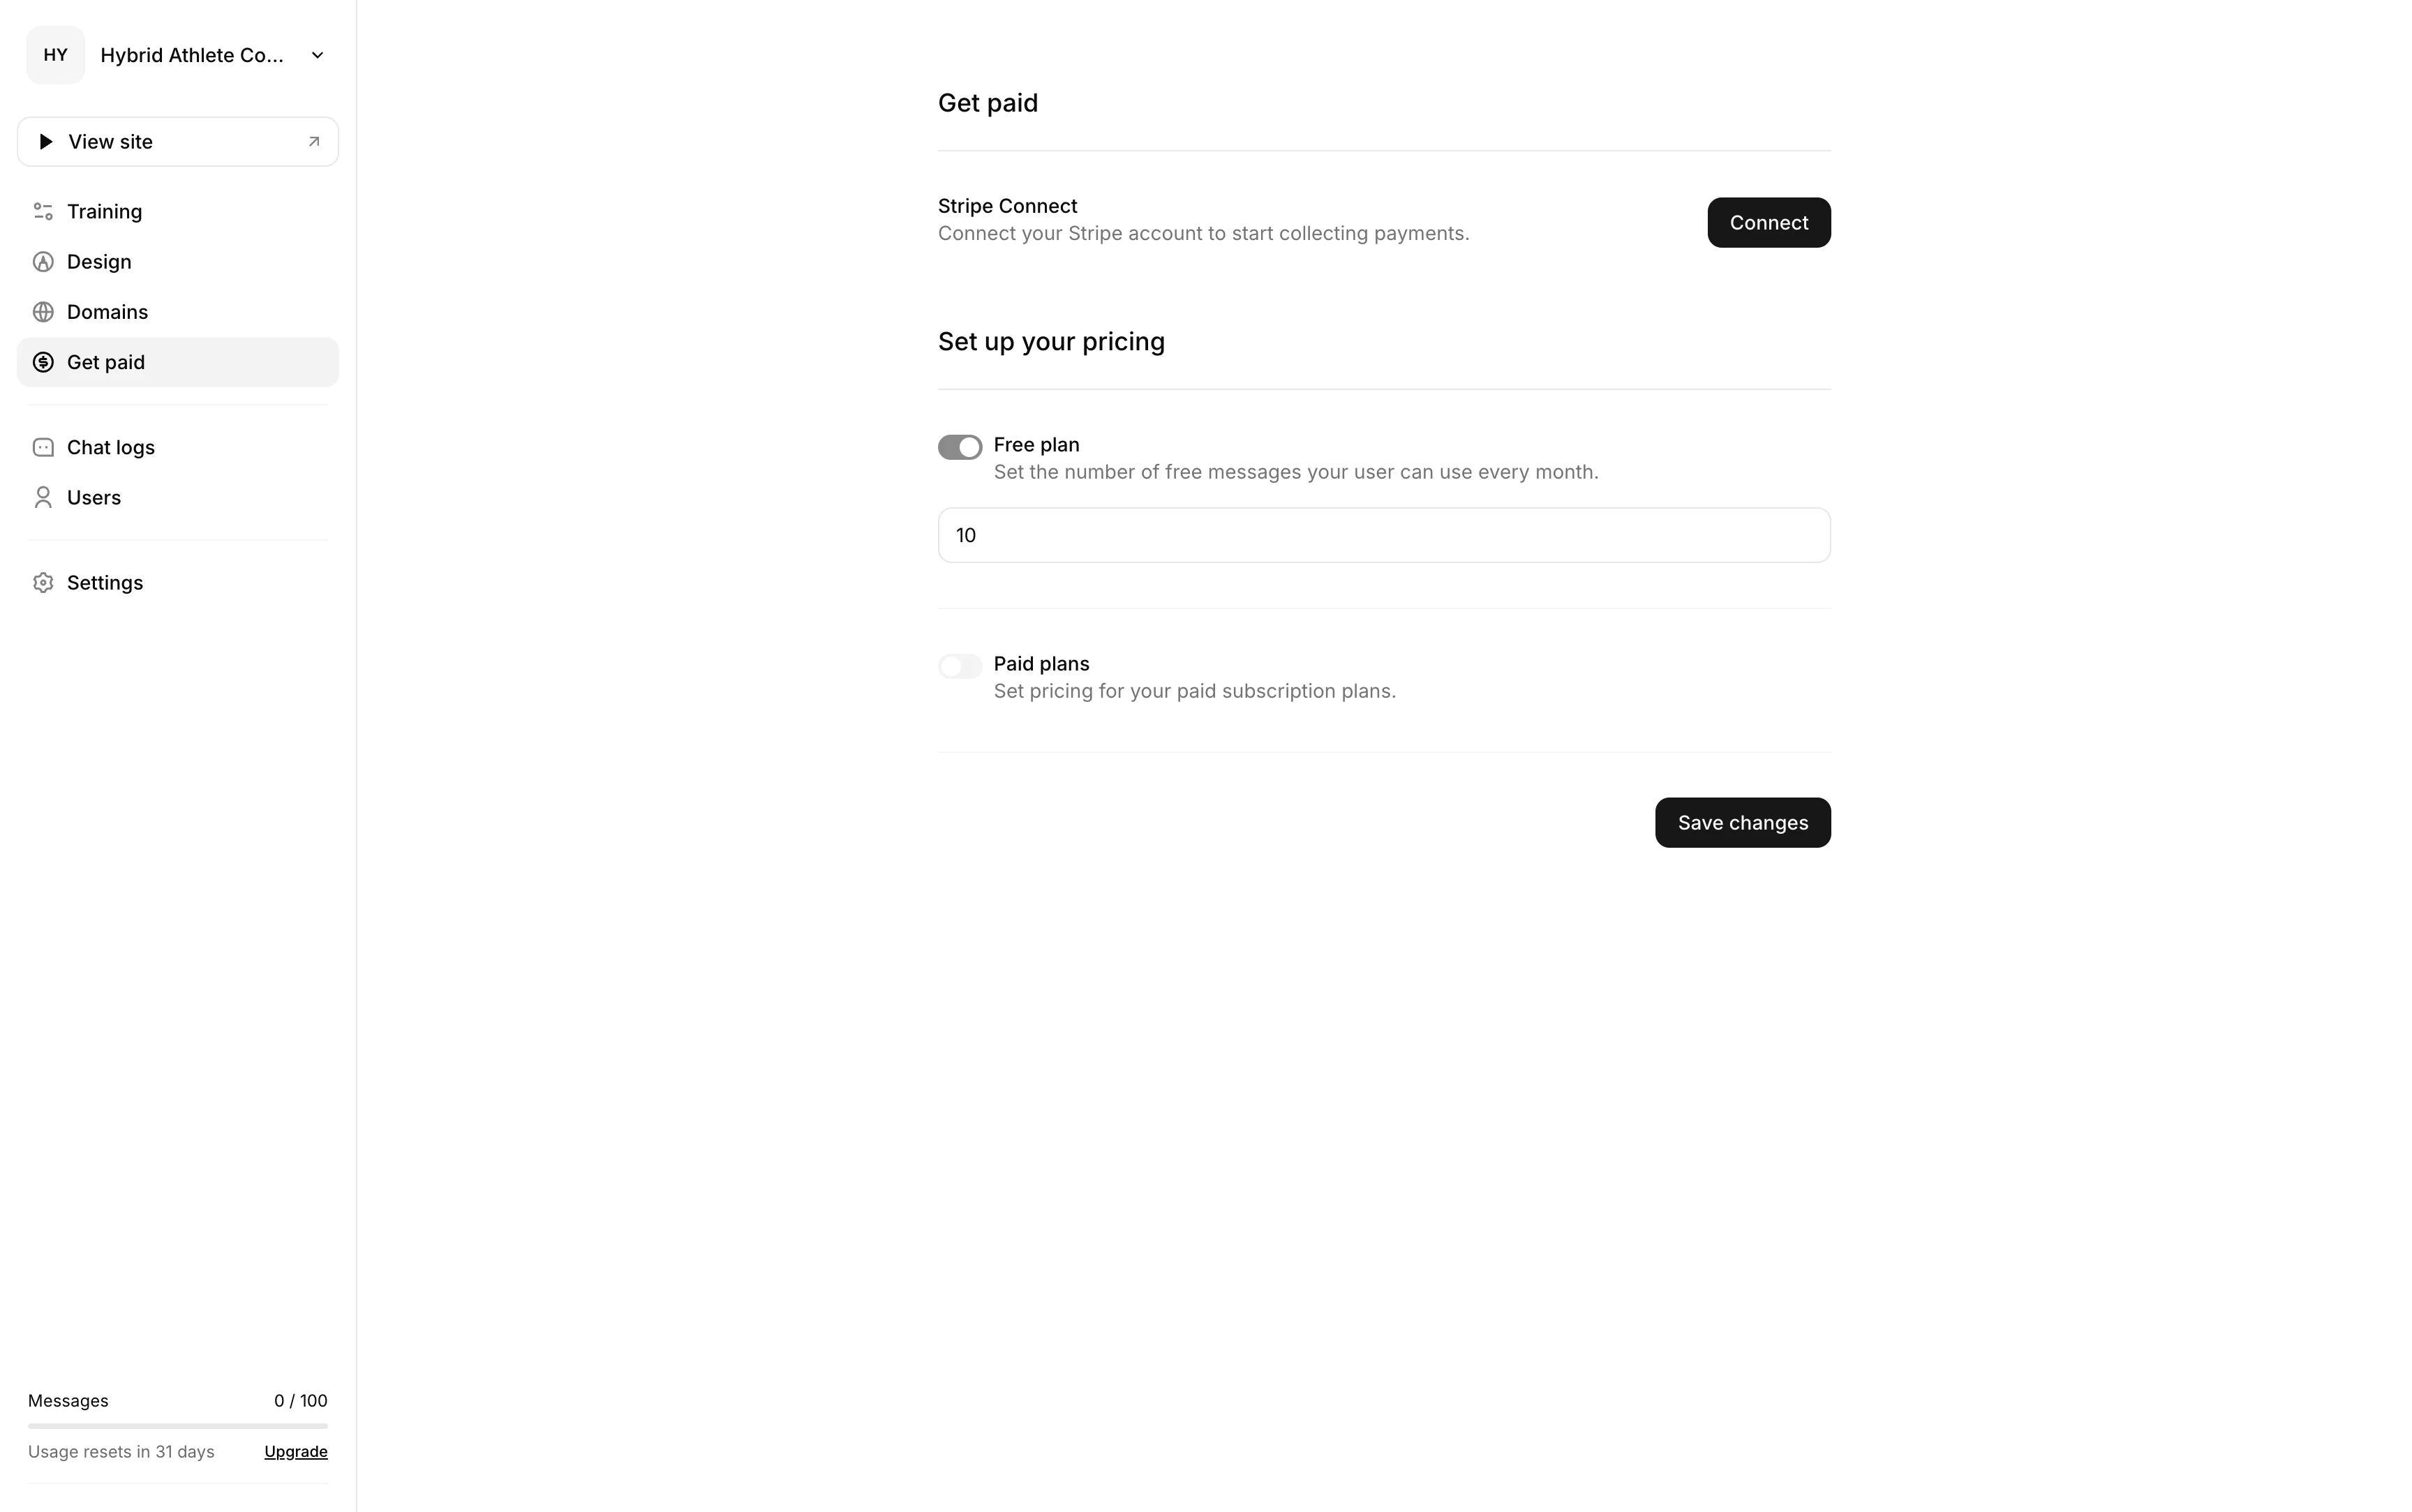
Finally, decide how you want to share your AI chat — for free or for profit.
In the Get Paid section, you can set how many messages your users get for free and create paid plans to start earning directly from your chat.
Learn more about setting up paid plans and Stripe here: Get Paid Help Article
You’re all set
You’ve just built your first AI chat — fast, simple, and fully your own.
From training and design to connecting your domain and earning income, Outchat gives you everything you need to share your knowledge and grow your brand.
Your AI is now ready to chat, help, and even make money for you — all on autopilot.